MongoDB
Setting up a local MongoDB database
Overview
This page explains how to install and configure a MongoDB database server and the default mongo shell. This guide will cover how to install and set up these components on your computer for local access.
This guide will cover the following platforms:
Navigate to the sections that match the platforms you will be working with.
If you're using MongoDB, checkout Prisma's MongoDB connector! You can use the Prisma Client to manage production MongoDB databases with confidence.
To get started working with MongoDB and Prisma, checkout our getting started from scratch guide or how to add to an existing project.
Setting up MongoDB on Windows
Note: This guide was written for MongoDB version 4 and the installation procedure has changed since the time of writing. To install more recent versions of MongoDB for Windows, check out MongoDB's Windows installation documentation.
MongoDB provides a native Windows installer to install and configure your databases.
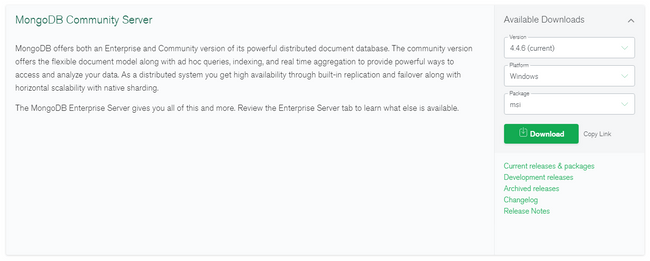
Visit the download page for the MongoDB Community Server and select the latest msi package available for Windows. Click Download to get the installer:
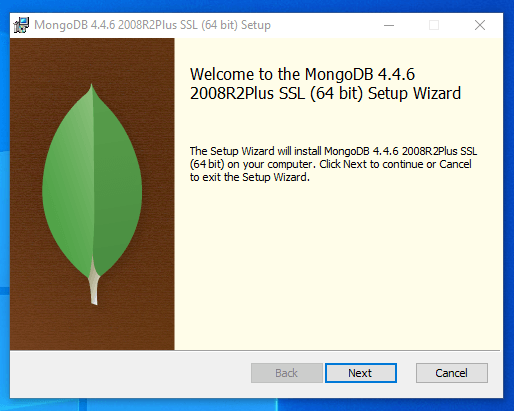
Once the download is complete, double click on the file to run the installer (you may have to confirm that you wish to allow the program to make changes to your computer):
Once the download completes, double click on the file to run the installer (you may have to confirm that you wish to allow the program to make changes to your computer):
Click Next on the initial page to continue.
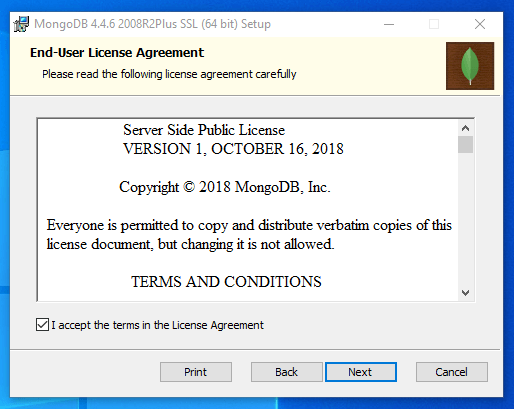
On the next page, read and review the end-user license agreement and check the box confirming that you agree to the terms
Click Next to continue.
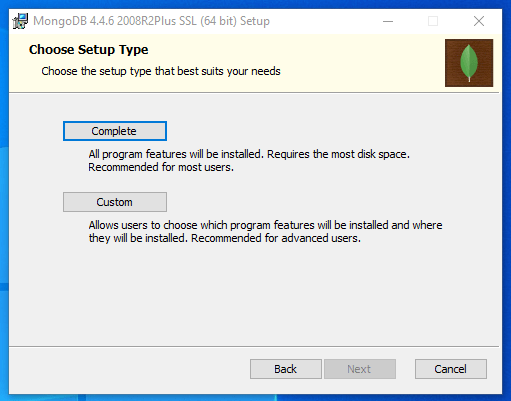
The next page allows you to choose which components you wish to install:
Choose the Complete installation to install all of the MongoDB components.
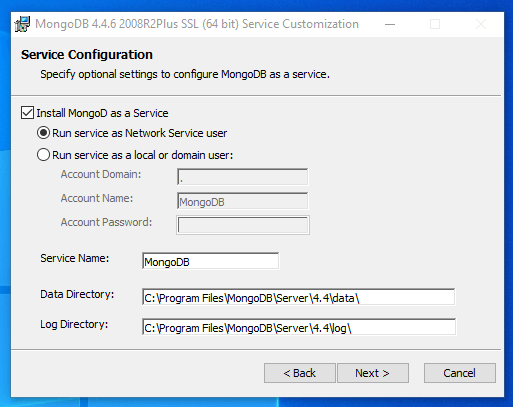
The next screen allows you to customize the installation location and other configuration items:
The default values should work well for most scenarios. Click Next when you are satisfied with your selections.
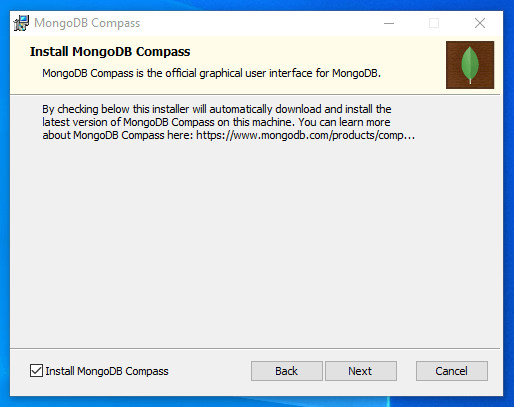
Next, choose whether you want to install MongoDB Compass, a graphical interface that you can use to connect to and manage MongoDB servers. This component is optional:
Click Next after making your decision.
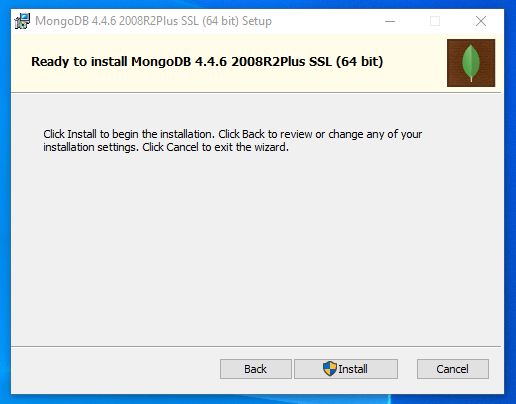
The next screen indicates that the pre-installation configuration is complete and that MongoDB is ready to install:
Click Install to begin installing all of the MongoDB components on your computer.
Once the installation is complete, MongoDB Compass may open automatically. If so, you can ignore it for now.
Now that MongoDB is installed, we can run the server and connect to it using the included MongoDB shell. Both of these components are run from the command line.
In your start menu, type cmd and click on the Windows Command Prompt to launch a terminal session.
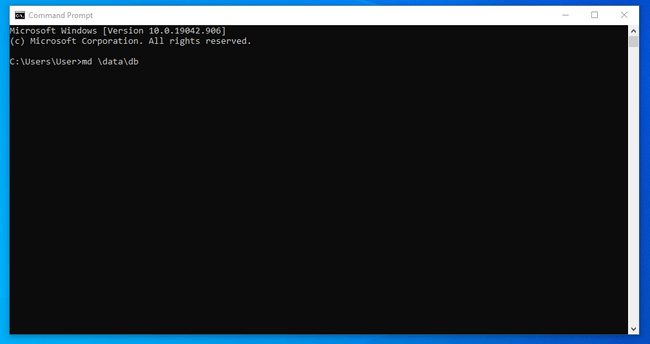
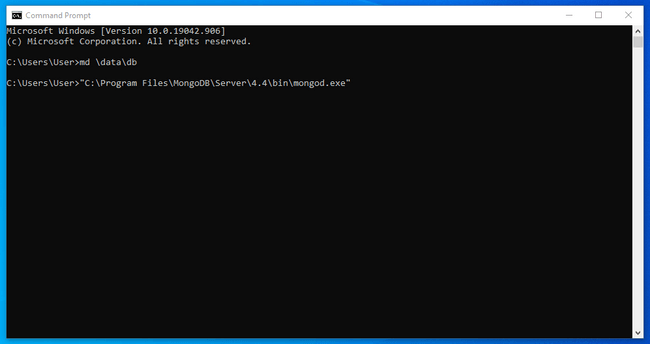
Before you run the server, you need to create the default directory where MongoDB stores its data: \data\db. You can create that directory by typing:
Afterwards, you can start up the MongoDB server by typing in the absolute path to the mongod.exe executable file. Part of the path contains the MongoDB version number that you installed, so your installation path may be slightly different than the one used below:
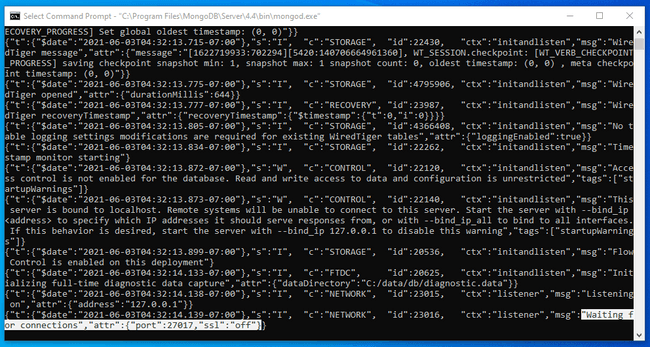
If everything is functioning correctly, the server will start up and output diagnostic information to the console. To verify that the startup was successful, look for a message that indicates that it is now accepting connections from clients:
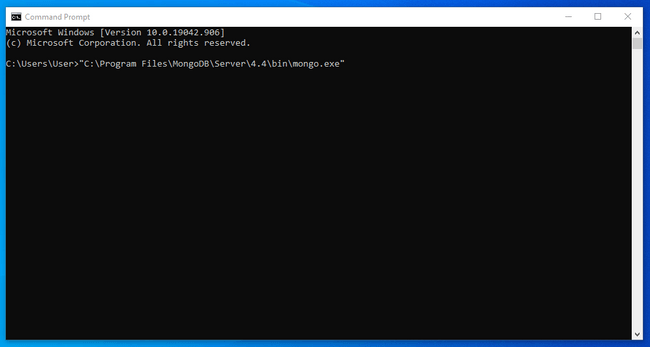
To connect to your running MongoDB server, open another Command Prompt window. Similar to before, we need to type in the absolute path to the executable file.
In this case, we are trying to run the mongo.exe executable so, taking into account the differences in version numbers, the command should look something like this:
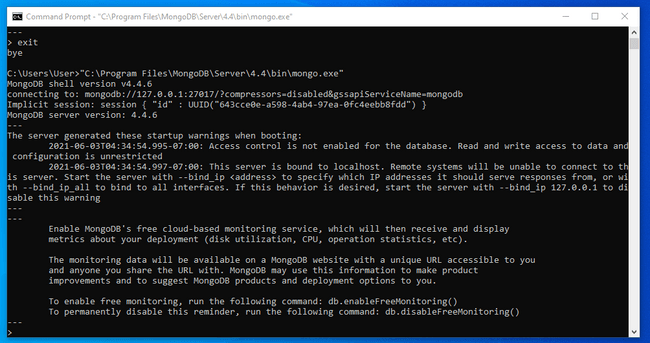
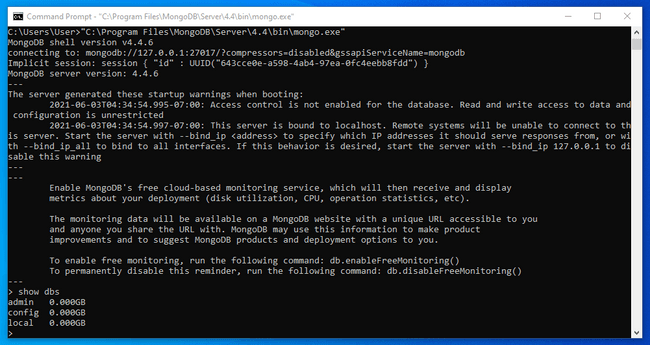
Once the shell connects to the server, it will print information about the connection and drop you into a MongoDB prompt:
To verify that the server is responding to commands, run the show dbs command:
If you installed the MongoDB Compass component, you can also connect to and manage your MongoDB server from a graphical interface.
Open up MongoDB Compass to begin.
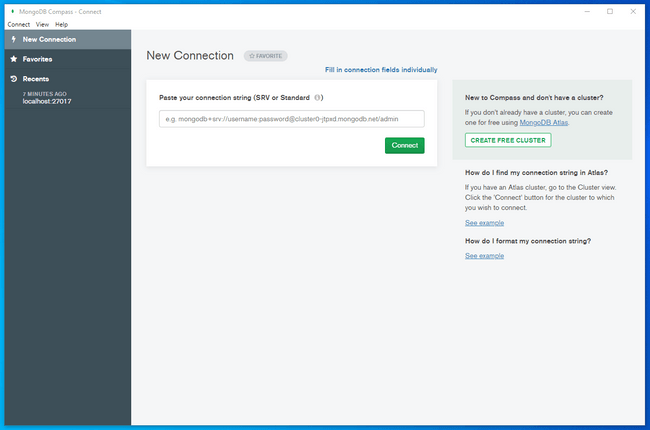
The initial screen will give you the opportunity to connect to a running MongoDB server by providing a connection string:
If you click Connect without entering any information, Compass will automatically attempt to connect to a local MongoDB server running with the default configuration.
Click Connect to connect to the MongoDB server you are running.
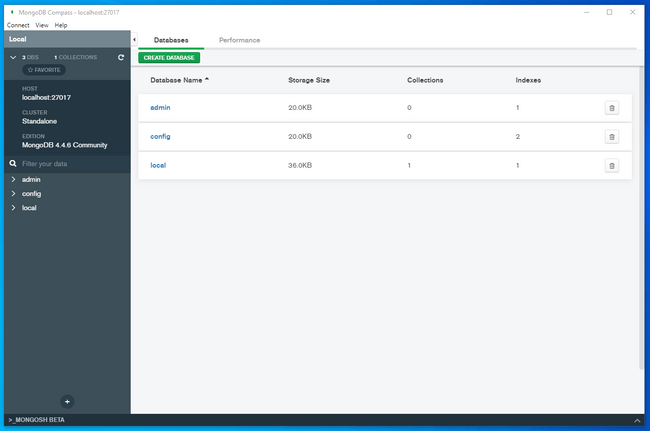
Once Compass connects to your local server, it will display information about the databases within and allow you to manage your data using a friendly graphical interface:
When you are finished working with your MongoDB server, you can stop each of the components.
In MongoDB Compass, click the Connect menu and select Disconnect to drop the connection to your MongoDB server. Afterwards, you can safely close the MongoDB Compass application.
In the MongoDB shell, you can type exit to end your session.
To stop the MongoDB server, type CTRL-c to begin the shutdown process for the server component.
If you are looking to get started working with MongoDB and Prisma, checkout our getting started from scratch guide or how to add to an existing project.
Setting up MongoDB on macOS
MongoDB provides a native macOS installer to install and configure your database.
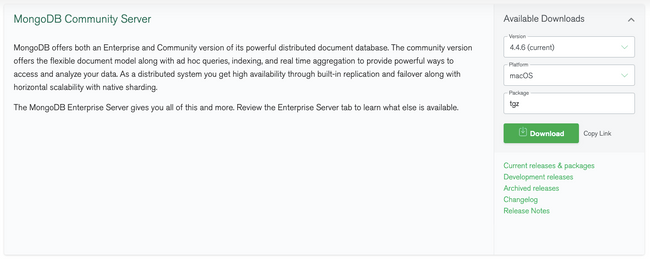
Visit the download page for the MongoDB Community Server and select the latest .tgz file available for macOS. Click Download to get the installer:
Once the download completes, open a new terminal window and navigate to the location where you downloaded the MongoDB .tgz file.
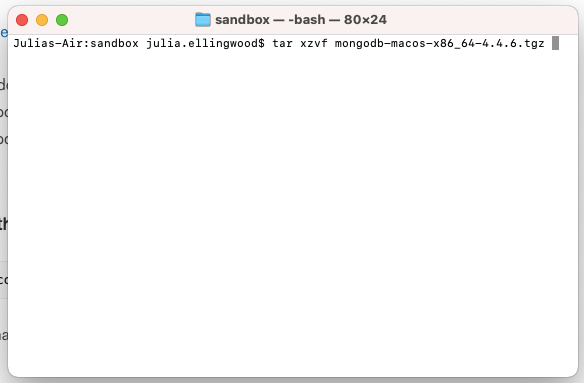
Extract the contents of the .tgz file by typing:
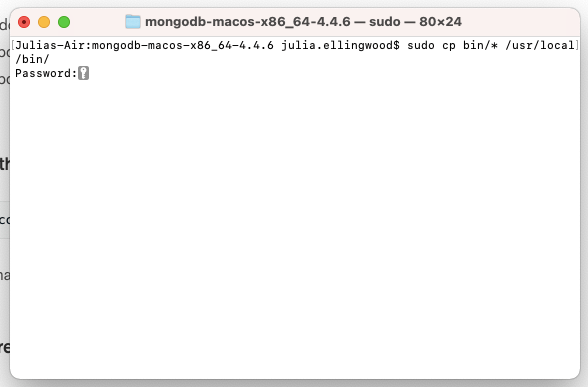
Change into the extracted directory and then copy the executables to your /usr/local/bin directory so that they are a part of PATH that the operating system uses to search for executables:
Before you can start the MongoDB server, you need to create some of the directories that it will need.
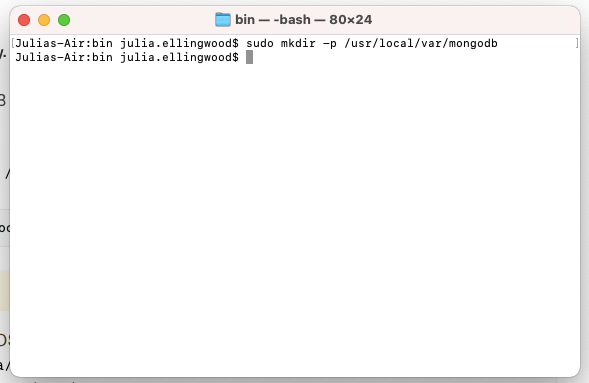
First, create the MongoDB server data directory by typing:
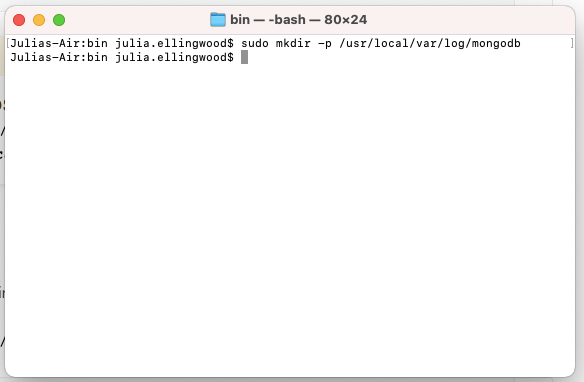
Next, create a directory that MongoDB can use to store its logs:
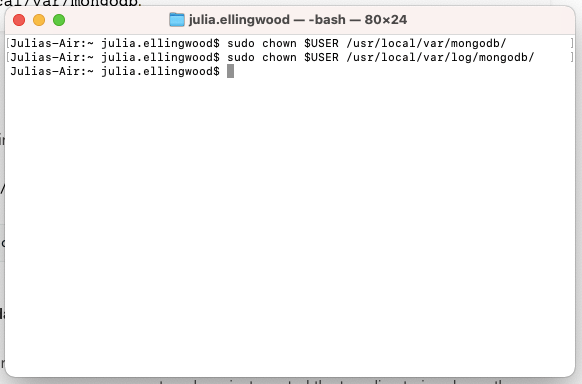
Next, give your current user ownership over the new directories so that MongoDB can write to them when you run the server with your user:
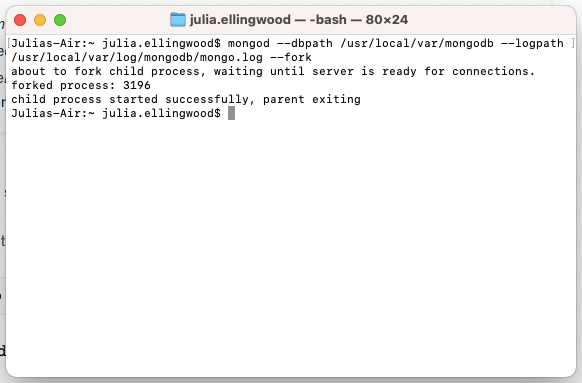
Now that the directories that the MongoDB server needs are in order, you can run start the MongoDB server with the paths we created by typing:
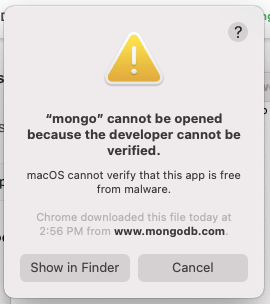
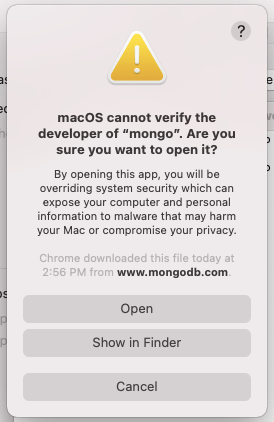
Depending on your version of macOS, it's possible you will see a prompt stating that the execution of the MongoDB server has been blocked:
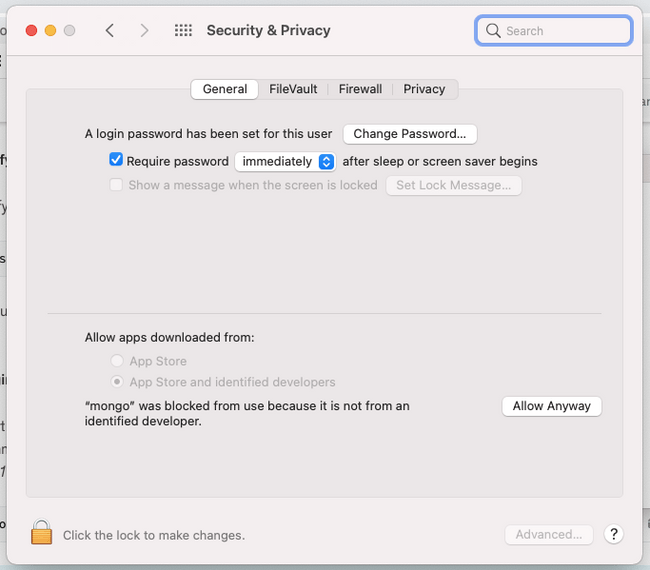
This is a security policy that is activated whenever an application is run that Apple does not recognize. You can allow an exception for your MongoDB server by going in to your System Preferences, clicking Security and Privacy and then clicking Allow Anyway next to the MongoDB server entry:
When you run the command again, another prompt will likely appear. However, this time, you have the option to allow the program to execute by clicking Open:
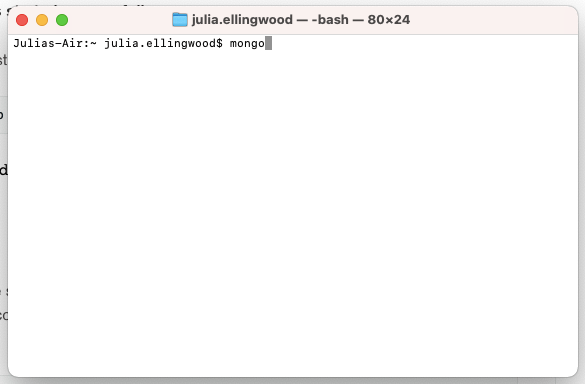
Now that the MongoDB server is running, you can start up the MongoDB shell to connect to and manage your server. To run the MongoDB shell, type:
Depending on your version of macOS, you may receive a notice that the execution was blocked again. If that's the case, go through the same procedure as before to allow an exception and confirm that you want to run the MongoDB shell.
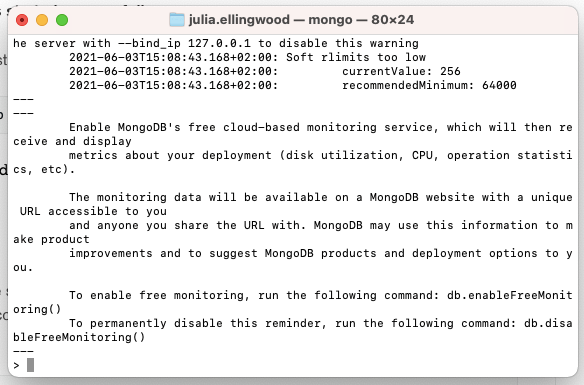
When all goes well, the MongoDB shell will connect to your local MongoDB server and provide you with a MongoDB prompt:
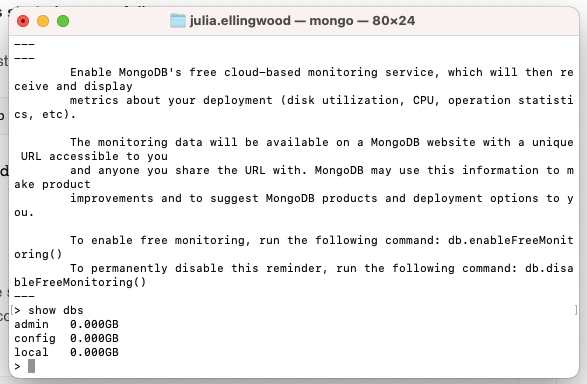
To verify that the server is responding to commands, run the show dbs command:
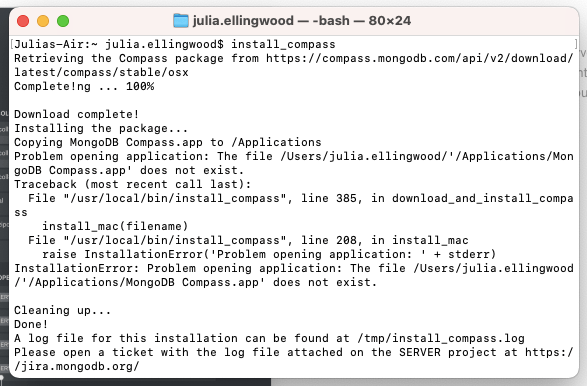
You can also optionally install a graphical MongoDB manager called MongoDB compass. To install Compass, use the install_compass command that's been included in the MongoDB installation:
Occasionally, the installer will run into an error, as shown above, but usually it does not affect the actual installation.
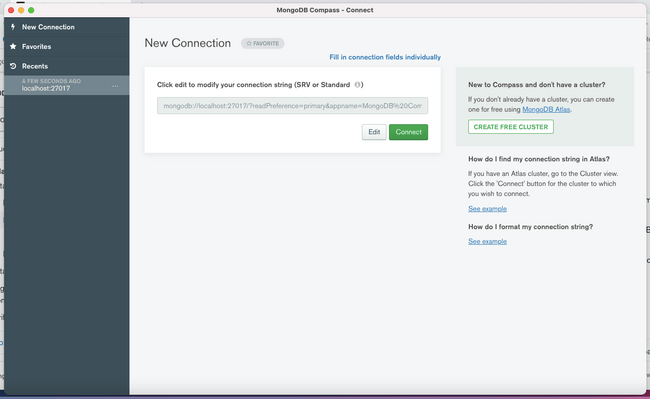
The initial screen will give you the opportunity to connect to a running MongoDB server by providing a connection string:
If you click Connect without entering any information, Compass will automatically attempt to connect to a local MongoDB server running with the default configuration.
Click Connect to connect to the MongoDB server you are running.
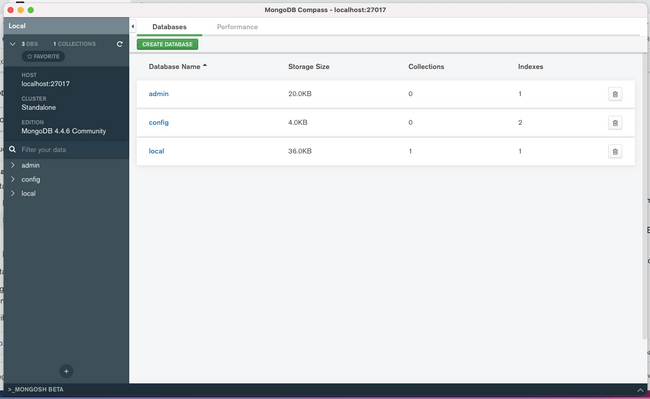
Once Compass connects to your local server, it will display information about the databases within and allow you to manage your data using a friendly graphical interface:
When you are finished working with your MongoDB server, you can stop each of the components.
In MongoDB Compass, click the Connect menu and select Disconnect to drop the connection to your MongoDB server. Afterwards, you can safely close the MongoDB Compass application.
In the MongoDB shell, you can type exit to end your session.
To stop the MongoDB server, you can find and kill the MongoDB server process by typing:
Setting up MongoDB on Linux
Installation methods differ depending on the Linux distribution you are using. Follow the section below that matches your Linux distribution.
Debian and Ubuntu
The best way to install MongoDB on Ubuntu or Debian is to configure your system to use the repositories that MongoDB maintains.
First, download the MongoDB GPG key to your collection of trusted apt signing keys by typing:
Next, find and record the latest version of MongoDB available for your operating system by typing:
Afterwards, configure the apt repository appropriate for your operating system.
If you are running Ubuntu, type:
If you are running Debian, type this instead:
With the MongoDB apt repository configured, update the local package index and install MongoDB by typing:
Once the software is installed, you can start the MongoDB server by typing:
Optionally, you can also automatically start MongoDB on boot with the enable command:
Now that the MongoDB server is running, you can start up the MongoDB shell to connect to and manage your server. To run the MongoDB shell, type:
When all goes well, the MongoDB shell will connect to your local MongoDB server and provide you with a MongoDB prompt. To verify that the server is responding to commands, run the show dbs command:
When you are finished working with your MongoDB server, you can stop each of the components.
In the MongoDB shell, you can type exit to end your session.
To stop the MongoDB server, type:
CentOS
The best way to download and install MongoDB on CentOS is to use the repositories maintained by the MongoDB.
First, find and record the latest version of MongoDB available for your operating system by typing:
Next, write the repository definition file using the version info you just queried. You can type the following command to write the repository file to the filesystem:
With the repository definition file in place, you can install the MongoDB server package by typing:
Once the software is installed, you can start the MongoDB server by typing:
Optionally, you can also automatically start MongoDB on boot with the enable command:
Now that the MongoDB server is running, you can start up the MongoDB shell to connect to and manage your server. To run the MongoDB shell, type:
When all goes well, the MongoDB shell will connect to your local MongoDB server and provide you with a MongoDB prompt. To verify that the server is responding to commands, run the show dbs command:
When you are finished working with your MongoDB server, you can stop each of the components.
In the MongoDB shell, you can type exit to end your session.
To stop the MongoDB server, type:
If you're using MongoDB, checkout Prisma's MongoDB connector! You can use the Prisma Client to manage production MongoDB databases with confidence.
To get started working with MongoDB and Prisma, checkout our getting started from scratch guide or how to add to an existing project.
